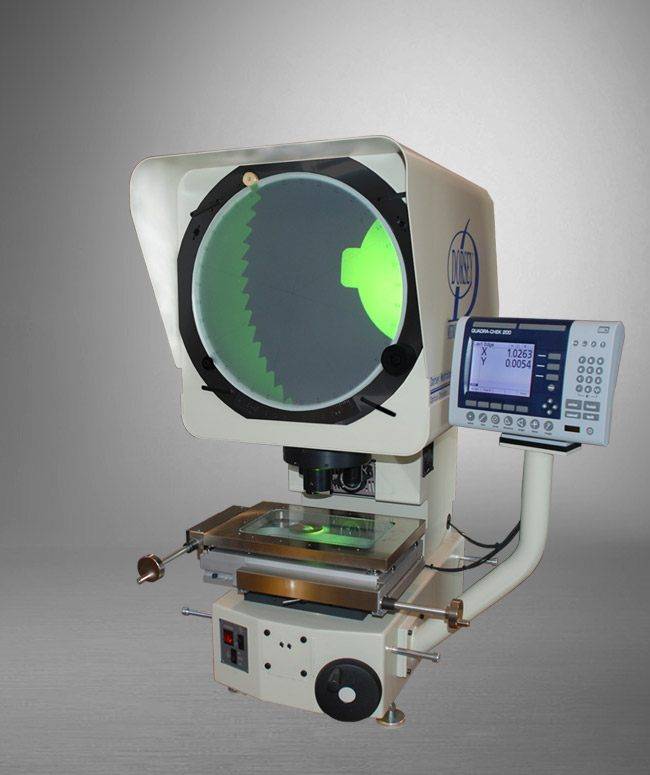
Optical inspection instruments can be put into four basic categories. Optical comparators, microscopes, video and laser systems. Optical comparators utilize traditional optics to magnify and project the image of an object onto a glass screen. This type of optical inspection instrument is by far the most widely used and is also the least expensive method of optical non-contact inspection in use today.
The optical comparator also offers the greatest versatility in regard to parts that can be inspected. Light weight parts as well as parts weighing 100s of pounds can be inspected on many available instruments. The development of the optical edge finder eliminated the subjectivity of the operator from the measurement and also allowed the system to become fully automated.
Optical comparators are available in a wide variety of styles and configurations from domestic as well as international manufacturers. Typical options are - projection screen sizes from 10” to 80”, horizontal or vertical light path configurations, profile and surface illumination systems, various stage travel options, magnifications from 5x to 200x and digital readout options from a basic two axis display to fully computerized automatic CNC systems.
Accuracy and repeatability of instruments currently available on the market today can vary depending upon the feature being inspected but can be expected to be within +/- .00010” under certain conditions.
Video systems utilizing a magnification lens and camera are relatively new to the mainstream inspection instrument market. Although these systems are typically more expensive than optical comparators and offer less versatility with regard to the size and weight of parts that can be inspected. These shortfalls are often more than offset by the advantages that this type of system can offer. Vision systems, which are generally small and compact, are better suited for relatively lightweight and or flat parts. Camera and computer advancements have allowed the offering of magnifications in the 1x-1300x range and some systems actually offer full three axis measurements under CNC control.
Video edge detection is also available that eliminates operator subjectivity from the measurement process. The image digitization process utilized by video systems also allows for computer manipulation and storage of the image being displayed. With the addition of a printer and driver a video inspection system can actually print out a pictorial view of the part being inspected for documentation purposes.
Due to the specialized staging, computer manipulation of lighting, image processing and the extremely high magnifications available, the accuracy and repeatability of some vision systems can be expected to be within +/- .00005 under certain conditions.
Inspection microscopes utilize traditional optics to magnify a desired detail. Many inspection microscopes today are coupled with a video system to offer the inspector the versatility of manual optical inspection as well as automated video inspection. Microscopes are generally best suited to inspect lightweight and or flat parts.
The latest development in optical inspection instruments are Laser inspection instruments which offer the greatest accuracy of any type of optical inspection instrument. Accuracy and repeatability within +/-.0000010 under certain conditions can be expected. This type of instrument reflects a laser beam from a detail being inspected and determines distances using time delay calculations. This extremely specialized method of measurement requires fixture to locate the laser device as well as substantial setup time to align the instrument. Laser inspection instruments are best suited for specialized production inspection or calibration applications.
